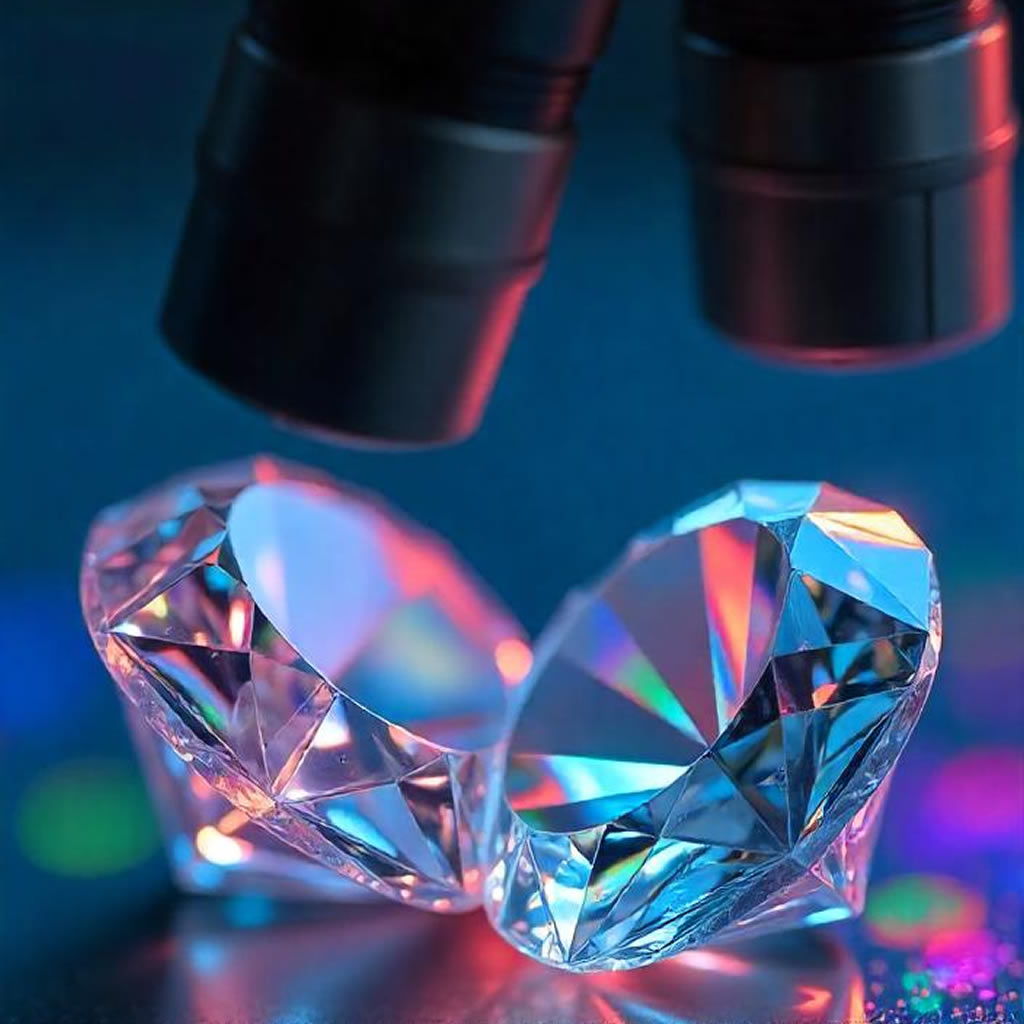
Lab-grown diamonds are real diamonds made in a lab instead of underground. They have the same look, sparkle, and strength as mined diamonds. The main difference is how they’re formed.
More people are choosing lab-grown diamonds because they’re usually cheaper and don’t involve traditional mining. But how exactly are they made? The process is more science than magic, and it follows a clear set of steps. Let’s break it down.

Step 1: Choosing a Seed
Every
lab-grown diamond starts with a tiny slice of another diamond. This is called a
“seed.” It’s usually a thin, flat piece made from carbon, just like a natural
diamond.
The
seed acts as a base. Under the right conditions, carbon atoms attach to it and
slowly build up into a larger crystal. The quality of the seed matters. A
clean, stable seed helps grow a better diamond with fewer flaws.
This
step sets the stage for everything that follows.
There
are two main ways to grow diamonds in a lab: HPHT
and CVD.
HPHT stands for High Pressure High Temperature. It
mimics how diamonds form deep underground. The diamond seed goes into a machine
that applies intense heat and pressure—similar to what you’d find in the
Earth’s mantle. Carbon melts around the seed and slowly forms a crystal.
CVD stands for Chemical Vapor Deposition. This
method uses less pressure but involves gas. The diamond seed is placed in a
chamber filled with carbon-rich gas, like methane. The gas is heated until
carbon breaks free and lands on the seed, forming layers of diamond over time.
Both
methods work. CVD is often preferred for jewelry because it gives more control
over the diamond’s clarity and shape.
Once
the seed is inside the machine, the real magic—well, science—happens.
In
HPHT, it takes a few days to a
couple of weeks for carbon to fully crystallize around the seed. In CVD, it’s a bit slower. Layers
of carbon build up gradually, often taking two to four weeks, depending on the
size of the diamond.
During
this stage, temperature, pressure, and gas levels are carefully controlled. If
anything’s off, the diamond can form with flaws, or stop growing entirely.
The
result? A raw diamond that looks more like a cloudy rock than a sparkling
gem—but it’s real diamond all the same.
Step 4: Cutting and Polishing
After
the diamond finishes growing, it’s not ready for a ring just yet. First, it
needs to be cut and polished.
This
step is the same as with natural diamonds. Skilled cutters study the rough
diamond to decide the best way to shape it. They use lasers and precision tools
to cut along natural lines in the crystal.
Then
comes polishing. This gives the diamond its final sparkle. The facets are
smoothed out to reflect light, creating that bright, clean look people expect.
A
well-cut lab diamond is just as brilliant as a mined one. The quality of the
cut can make a big difference in how it looks.
Once
the diamond is cut and polished, it goes through a final quality check.
Just
like mined diamonds, lab-grown diamonds are graded by the 4 Cs: cut, color, clarity, and
carat. Independent labs—like GIA or IGI—inspect each stone and give it a
certificate. This tells buyers exactly what they’re getting.
Inspectors
also check for any internal flaws (called inclusions) or surface marks. Even
though lab diamonds are made in controlled settings, they’re not always
perfect. Some will be clearer or better shaped than others.
Certification adds trust to the process. It confirms the diamond’s quality and that it was made in a lab.